

FOR LIGHT
TOUCH VIBRATION
Warranty
Activation:
Your purchase is protected by a 1-year limited manufacturer's warranty. Activate your warranty within 30 days of purchasing with our online form.
IMPORTANT: Product must be registered within 30 days of purchasing to be eligible for product warranty support.
Protect your purchase even further with TouchPoint Care (separate purchase necessary).
What's
Included:

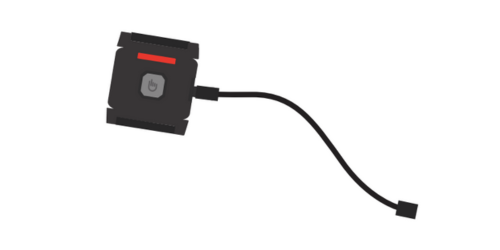
1 TouchPoint

1 Zipper Sweatband

A Charging Cable

Carrying Bag
Setting Up:
1. Charge TouchPoints until
red light turns off
(Approximately 2-3 hours).

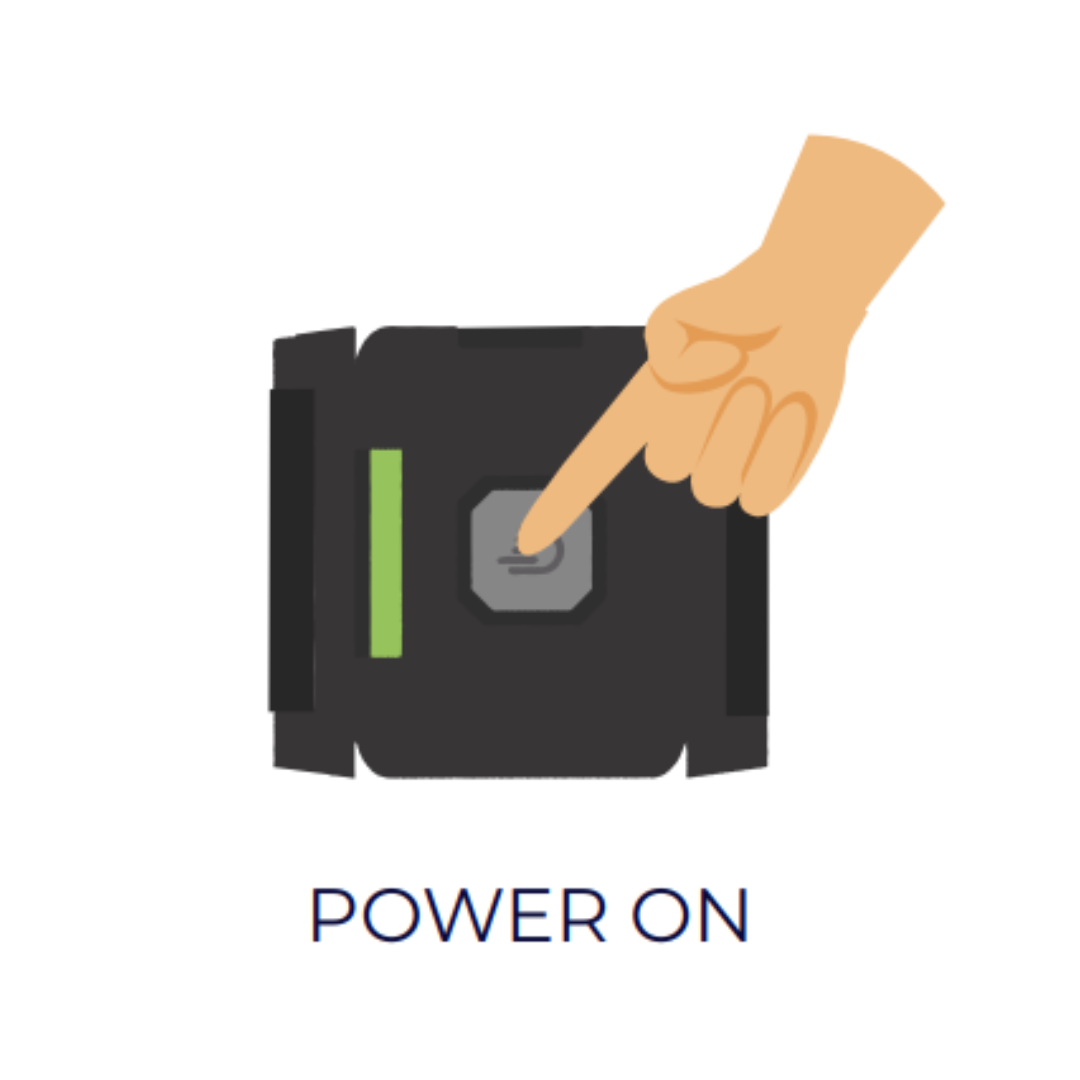
2. Power on and choose your
desired setting

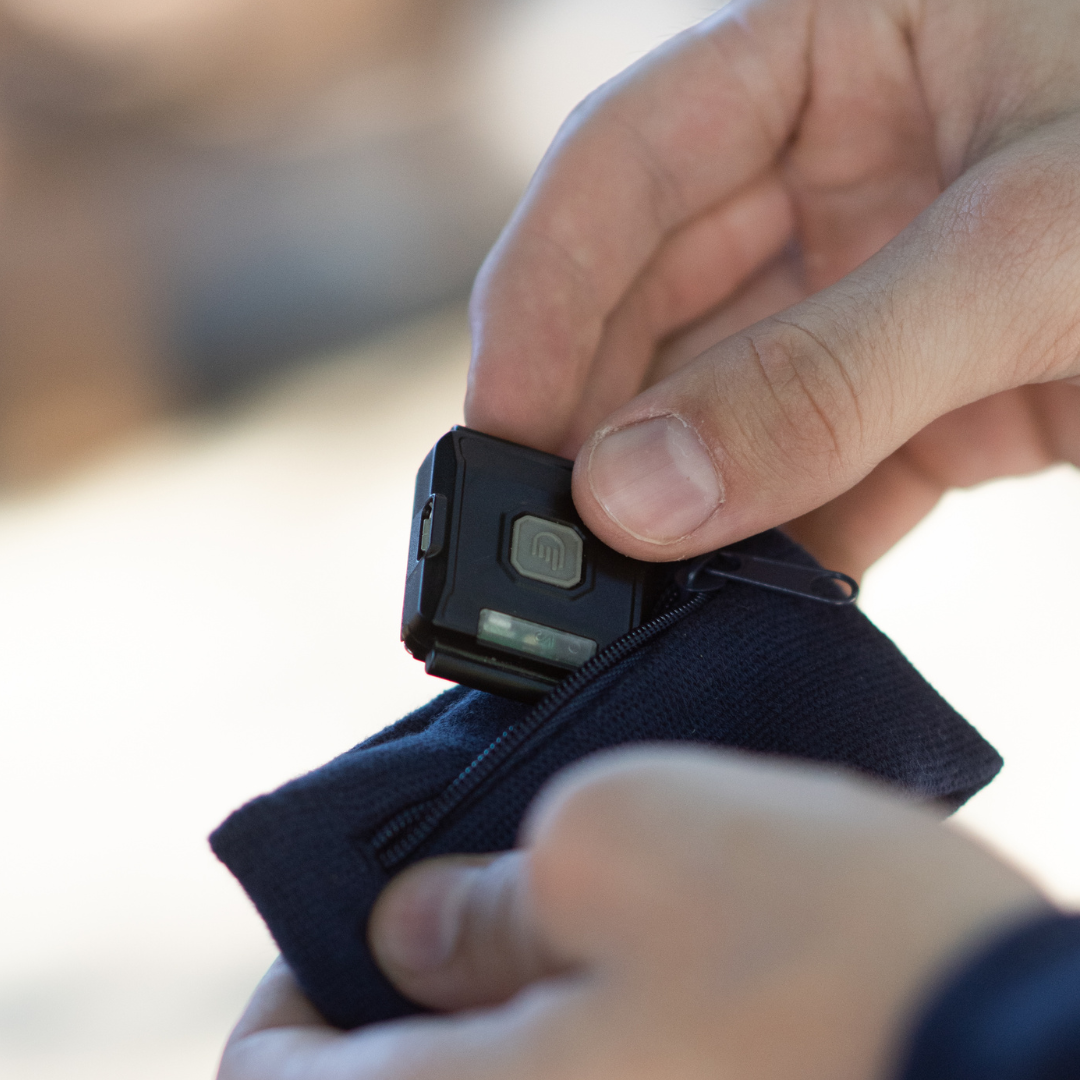
3. Place TouchPoint into
zipper sweatband and your
TouchPoint is ready to use!
Charging
TouchPoints:
Take a moment to review these key charging instructions. Learn more about safe use and care here.
- The USB cable must not be used if there is any damage to the insulation jacket or around each of the connectors.
- Plug the devices into the charging cable before inserting the other end of the USB cable and into the computer or USB adapter.
- It is not recommended to use USB charging ports in furniture like hotel lamps or couches.
- Recommended minimum of weekly charging
- It is not recommended to charge for 24 hours+
- It is recommended to unplug the USB adapter from the wall when not in use.
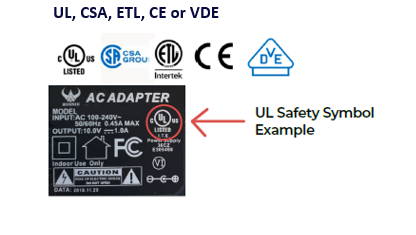
- ALWAYS use a charging adapter that displays the following safety symbols:
- Under unusual conditions of high electrostatic discharge, your TouchPoints may power off due to a built-in safety feature. In the event this occurs, please visit our online FAQ for hard reset.
Using TouchPoints:
Key:
Lead (L):
First device powered on
-used to select setting
Follower (F)
Second device powered on
-mimics setting from the lead
Either device can be a lead or follower based on which one is powered on first.
The lights on your TouchPoints will help your sync your devices to the preferred setting and know when they're charging.

BLUE
The blue light is the first and slowest speed on your TouchPoint.

YELLOW
The yellow light is the second and medium speed on your TouchPoint.
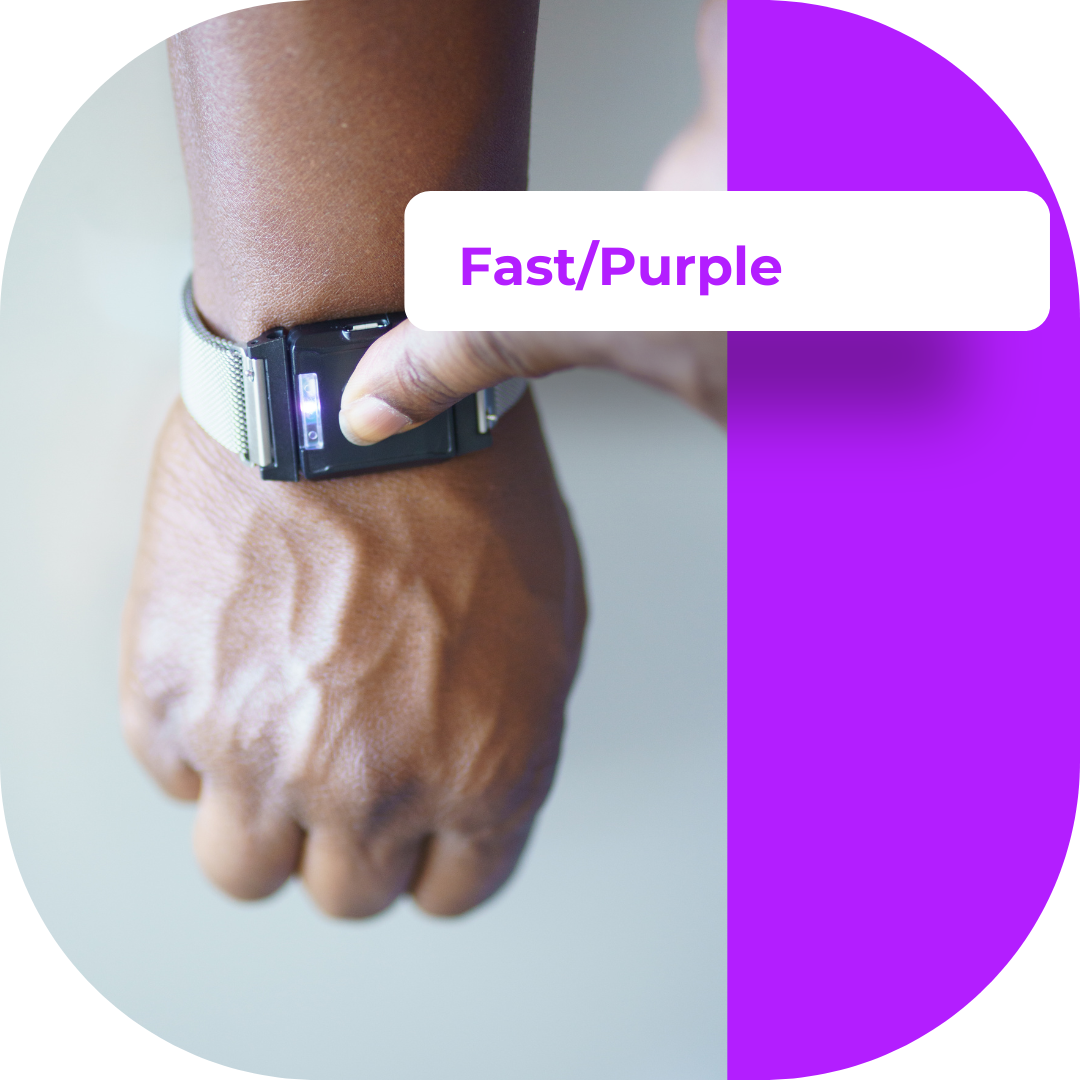
PURPLE
The purple light is the third and fastest speed on your TouchPoint.

RED
The red light will display when TouchPoints are charging, and disappear when TouchPoints are fully charged.
If the TouchPoint shows a red light while off the charger, it needs to be charged.

GREEN
A green standby light displays will briefly display before the TouchPoint powers off.
Step-by-Step Guide:
1. Press the button on the TouchPoint
device to power on. The green light
signifies that the device is powering
on or off
2. Press the button on the TouchPoint
device once more to activate the
blue (slow) setting. The device will
begin to vibrate.

3. If desired, change settings by pressing the
button on the TouchPoint device again.

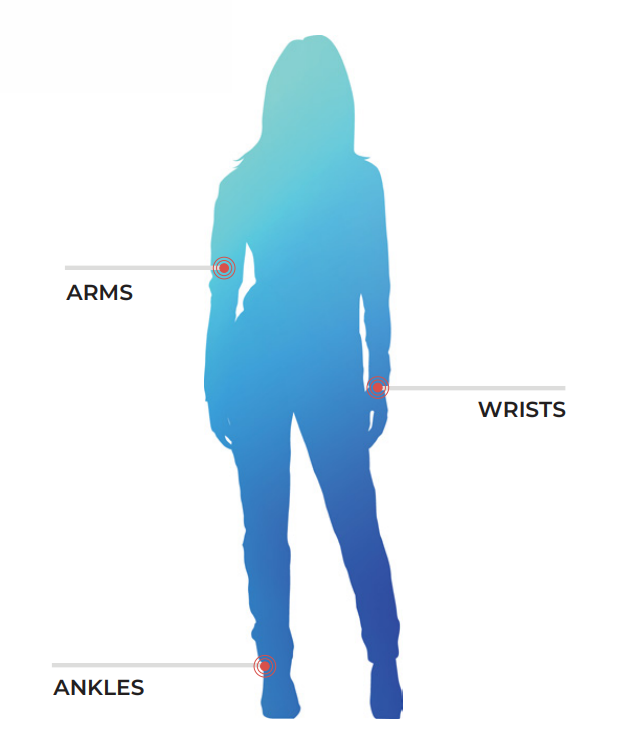
4. Place one TouchPoint on either wrist
and feel the calming vibrations.

5. To turn off, hold the TouchPoints away
from each other and press the button on
each until you see the green light.

How to Wear
TouchPoints:
Your Brain Balance Virtual Coach will guide you through the appropriate setting and placement of your TouchPoint throughout your individualized program.
Visit the Brain Balance Parent Portal for more information on how to use your Touchpoints.